“Shine Bright Again: Fixing Solar Lights with Nail Polish”
Are you fed up with your solar lights or bulbs not working like they did in the past? Before you throw them away and purchase new ones, consider this innovative solution of fixing solar lights with nail polish. It will repair the solar panel. Read on to learn how a basic polish can make your solar lights shine again!
What’s the reason? Solar Lights Stop Working
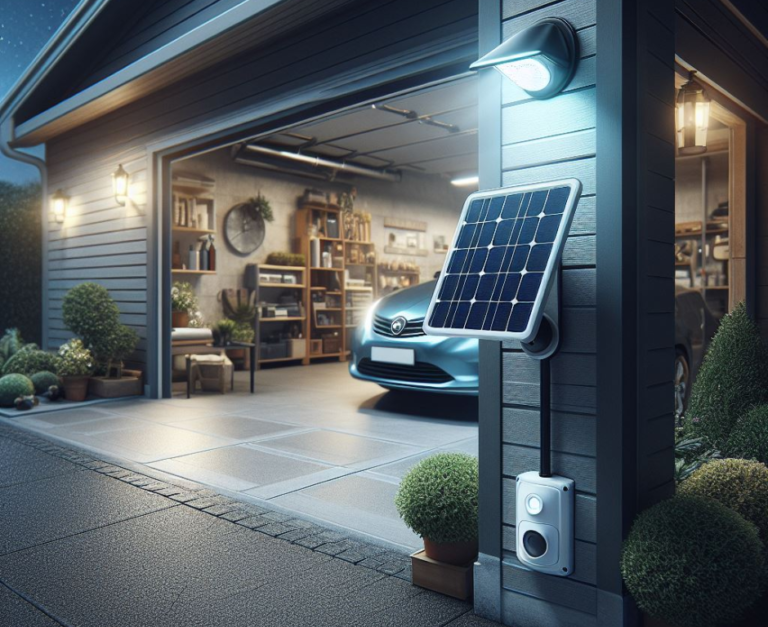
The solar lights absorb the sunlight during the daytime via solar panels. They charge the batteries. As it gets dark outside, the batteries get filled up again with energy and make the LED bulbs shine softly on your patio, garden, or pathway. But over time, dirt and stuff pile up on the solar panels, blocking the sunlight that charges the batteries. When this happens, the lights might not shine as bright or might even stop working altogether. This hinders the battery from charging properly, which causes the light to dim or stop working.
Cleansing of the Solar Panels
There are many ways to restore solar lighting, such as caring for solar panels. Utilize a microfiber cloth soft brush or cotton Swabs dipped into ruby alcohol to gently remove dirt and debris. Avoid aggressive cleaners and pads with abrasive or too high pressure, as they could damage the solar panel’s cover.
Cleaning alone won’t always solve the problem, especially when solar panels are cloudy, damaged, or cracked. When this happens, the panels can’t absorb sunlight properly, which reduces their ability to produce energy.
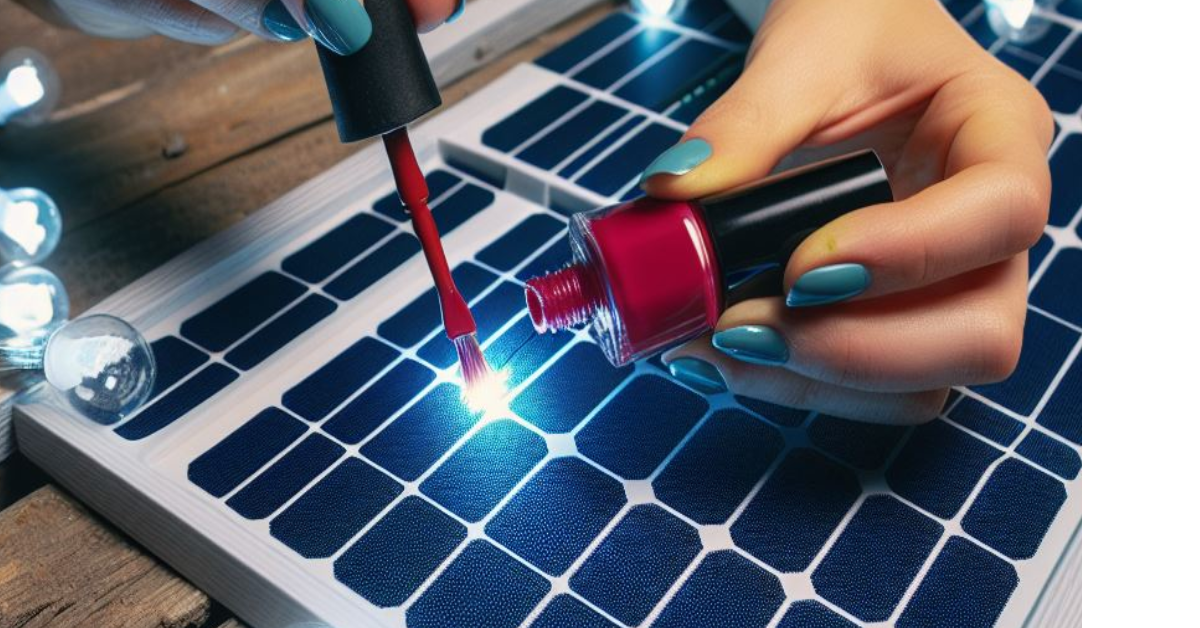
Fixing Solar Lights with Nail Polish
This is where the clear polish comes in! Applying a fresh coat of polish on the solar panels fills the gaps and creates an even, transparent surface that allows sunlight to pass through to the solar cells below.
The polish suffocates the moisture and stops any further clouding or haziness. Your solar light bulbs will operate just like they did when new! Any polish that is clear and fast-drying can do the trick.
Materials Needed
- Clear nail polish
- Microfiber cloth
- Q-tips, a small paintbrush, or a foam applicator
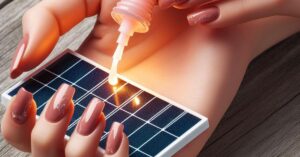
The Application of the Polish
- Cleanse the Solar panel well with an abrasive cloth that removes dust, dirt, and oil.
- Utilize a Q-tip, a small brush, or a sponge to spread a thin layer of transparent polish evenly across the solar panel.
- Allow the polish to dry completely. You can apply another coat to get the most flawless, smooth appearance.
- Avoid glitter or dark polishes, as they may stop sunlight from getting through. Use pure polishes.
- Apply filler primers designed for nail polish to fill the gaps before placing clear coats on severely damaged or cracked panels.
That’s all there is to it! With a simple nail polish, you can revive your solar light panels and see the lights shining brightly again.
Where to put Resurrected Solar Lights
After fixing solar lights with nail polish, make sure to put your solar lights in optimal places to charge:
- Direct sunlight and not in shaded areas.
- Face south to maximize sunlight exposure across the northern and southern hemisphere
- The angle is slightly upwards to “catch” more sun
- Free of debris, dirt, and overgrowth from plants
Beware of placing lights close to the nighttime lighting sources, like street lamps, lights for patios, or indoor lighting, which could fool solar panels into believing that it’s daytime.
How Much Time Will the Fix Last?
The nail polish may prolong the solar light’s duration for several months or even a year. Ultimately, the polish might require reapplication if cracks or hazing occur again. How long the polish lasts is contingent on the following:
- Quality and the age of solar panels
- Exposure to UV radiation and weathering
- Cleaning/Removing dirt buildup
- Stopping pests and critters from nesting on panels
If properly placed and with regular maintenance, a few nail polish will keep the solar lights in good shape to last through the seasons!
Troubleshooting Tips
When your solar lights remain dark or inactive after applying nail polish, Check out these steps:
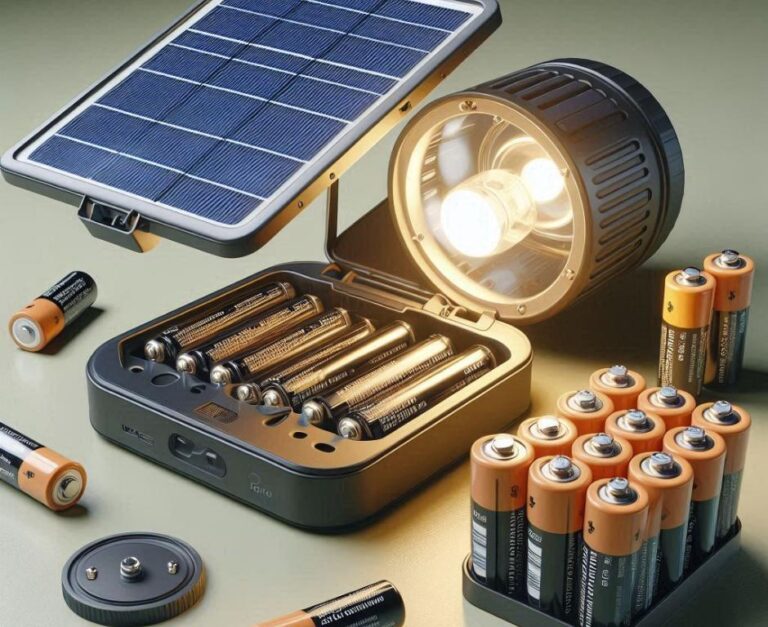
- Check batteries – they may require replacement if they are more than three years old
- Clean up any residue or film from the LED bulb
- Apply an extra polish coat if hazy spots persist.
- Utilize primer/filler in cases where cracks are too big to polish on their own
- Make sure that your lights are exposed to more than 6 hours of direct sunlight exposure
- Angle lights are slightly higher and points more directly towards the sun
FAQs: Revitalizing Solar Lights by using Polishx
Can you put nail polish on solar lights?
Any clear, fast-drying nail polish may be used to revive the cloudy solar panels and raise light absorption. Avoid using dark or glitter-colored polishes which interfere with sunlight.
Clear nail polishes can be used with solar panels.
Clear polish is perfect for solar panels as it lets sunlight through while sealing off dust, water, and dirt. It fills gaps and gives a transparent, smooth surface that maximizes light absorption.
How can you revive solar bulbs?
First, wash solar panels using a microfiber cloth and rub alcohol. Apply two layers of polish together with a tiny brush or sponge applicator. It is vital to allow the polish to dry completely between coats. Then, position the lights with the correct light exposure.
In Summary
With a small bottle of clear nail polish, reviving your old solar light and extending their life span is easy and cheap. You can try this fix next time your outdoor solar lights begin to fade or start to conk out. Your yard will glow brighter and brighter in a flash!